REPURPOSING PROJECT N. 2- Dining table upgrade

For this project we where approached by a client who wanted to upgrade the look of his existing dining table on a budget. The table is a colonial style piece with a walnut stain. The table top was in rough condition, but the base was in good shape. 

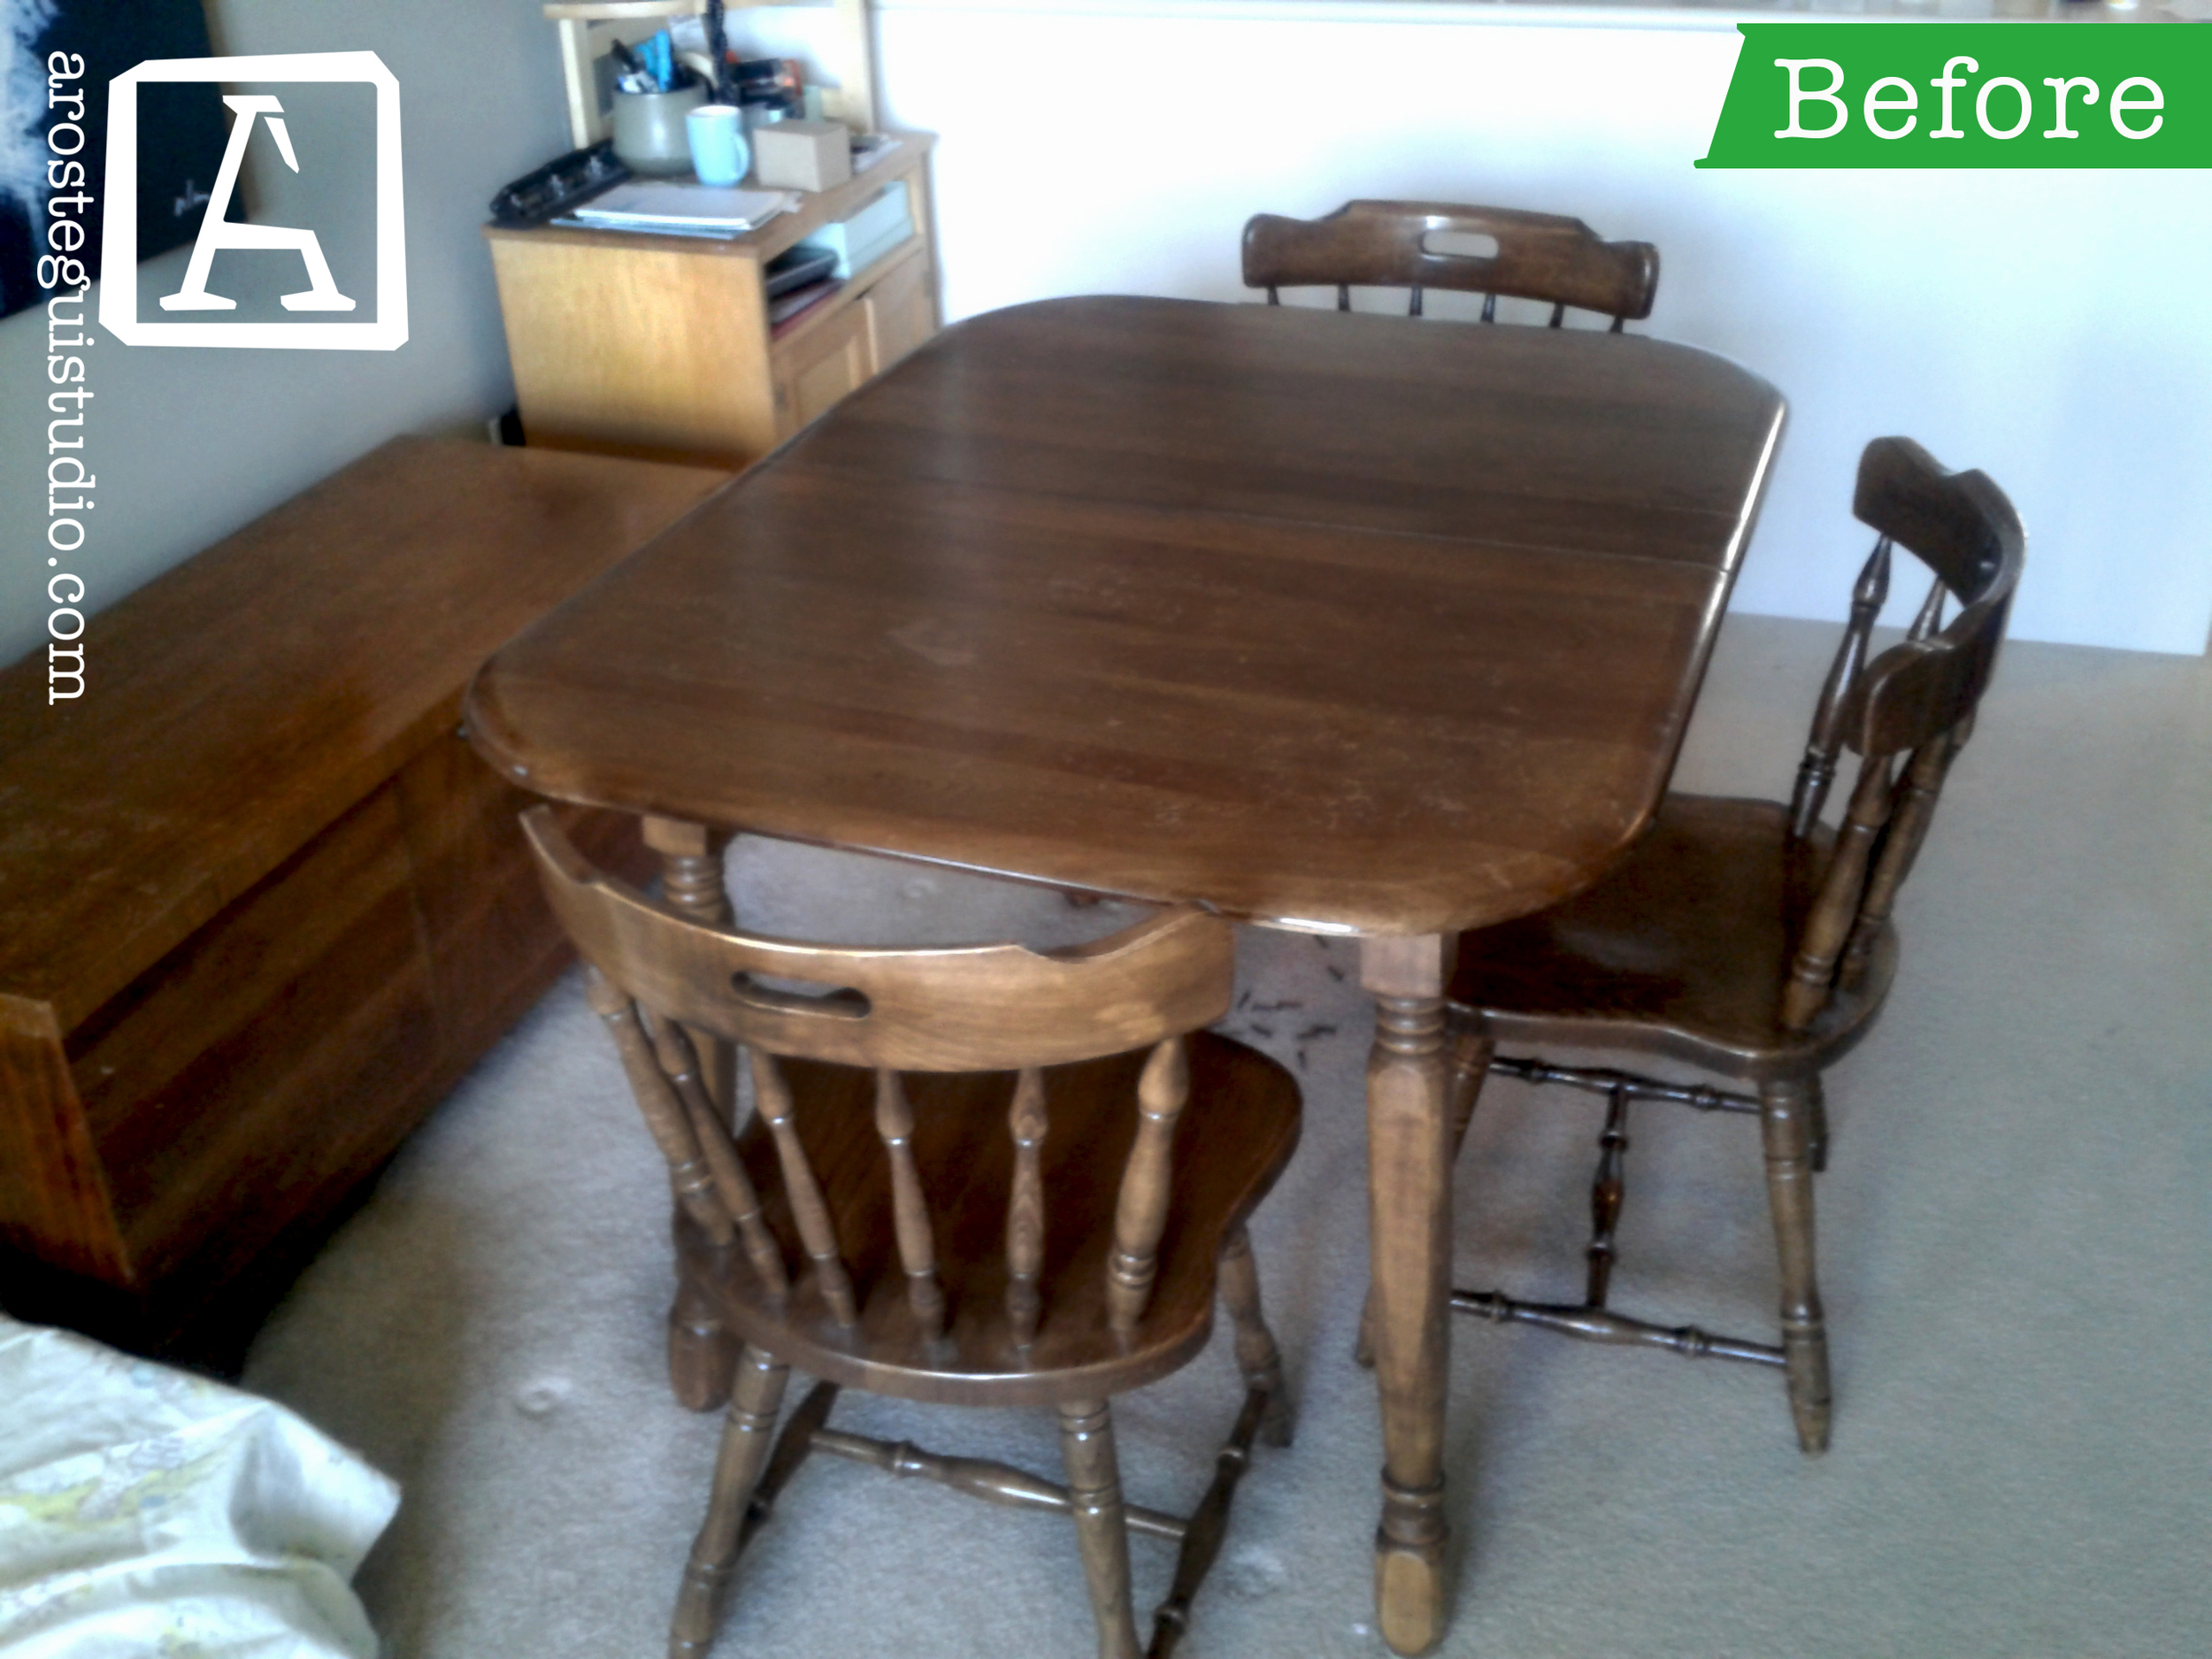
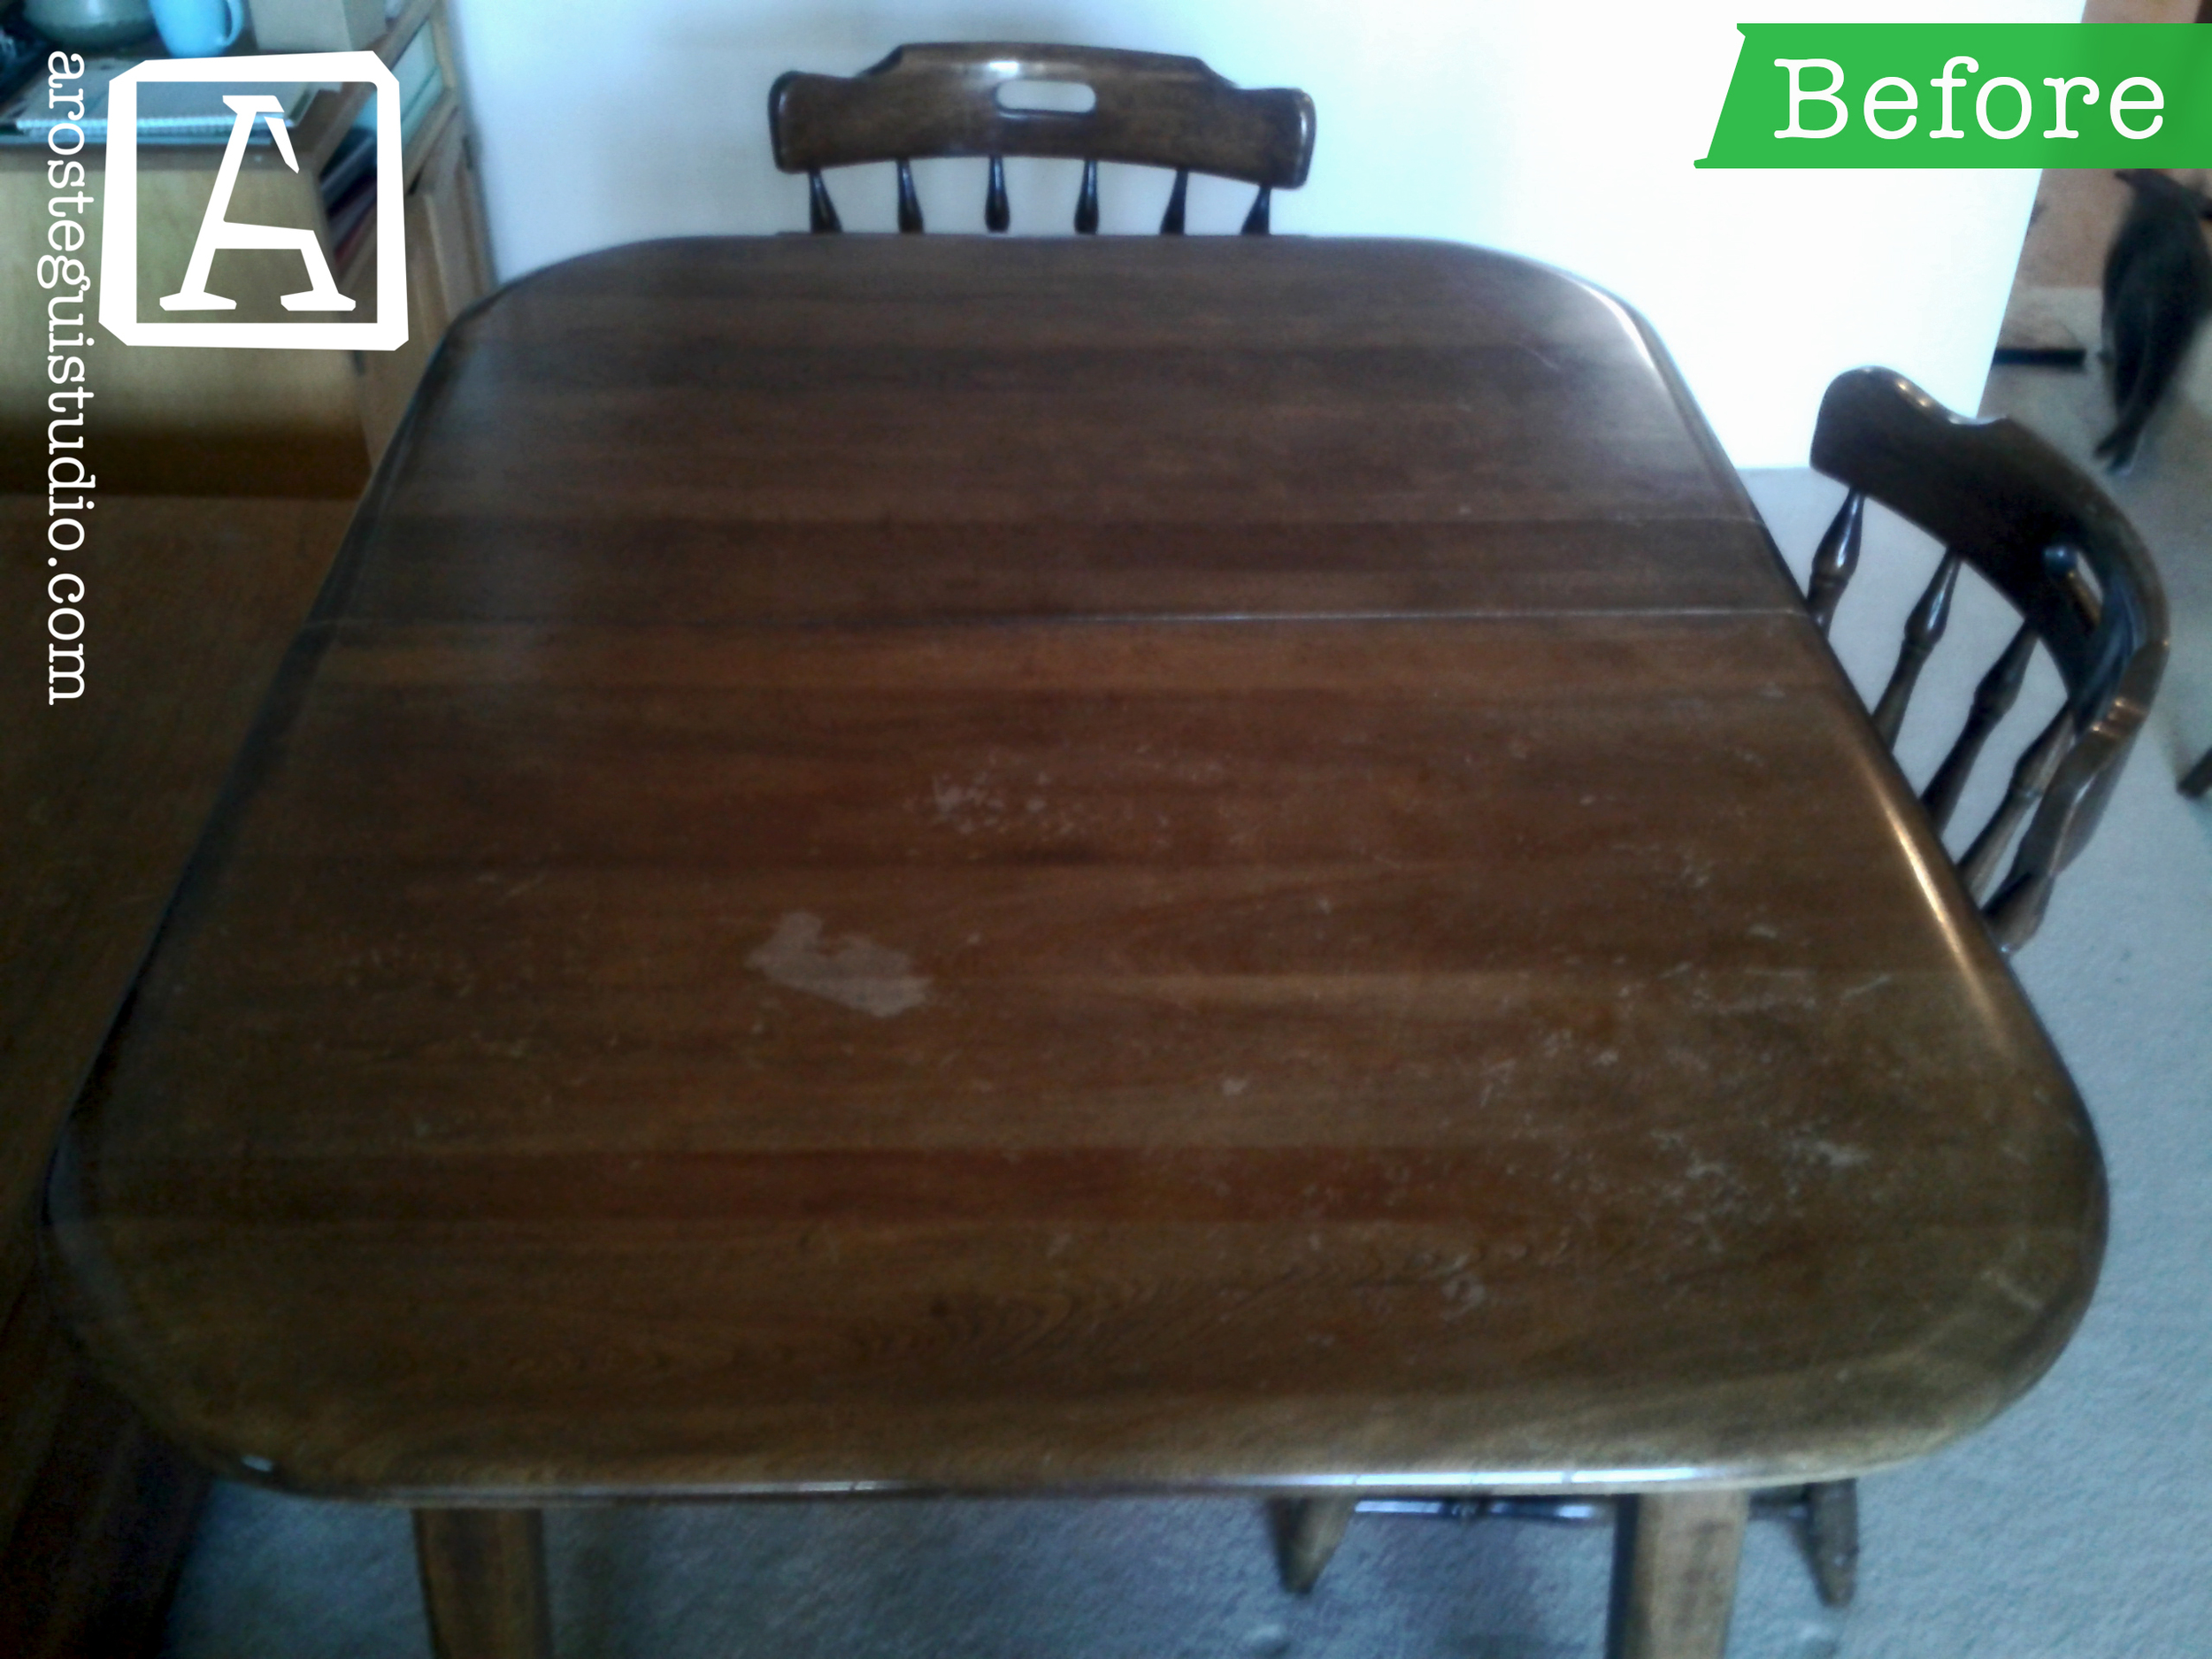
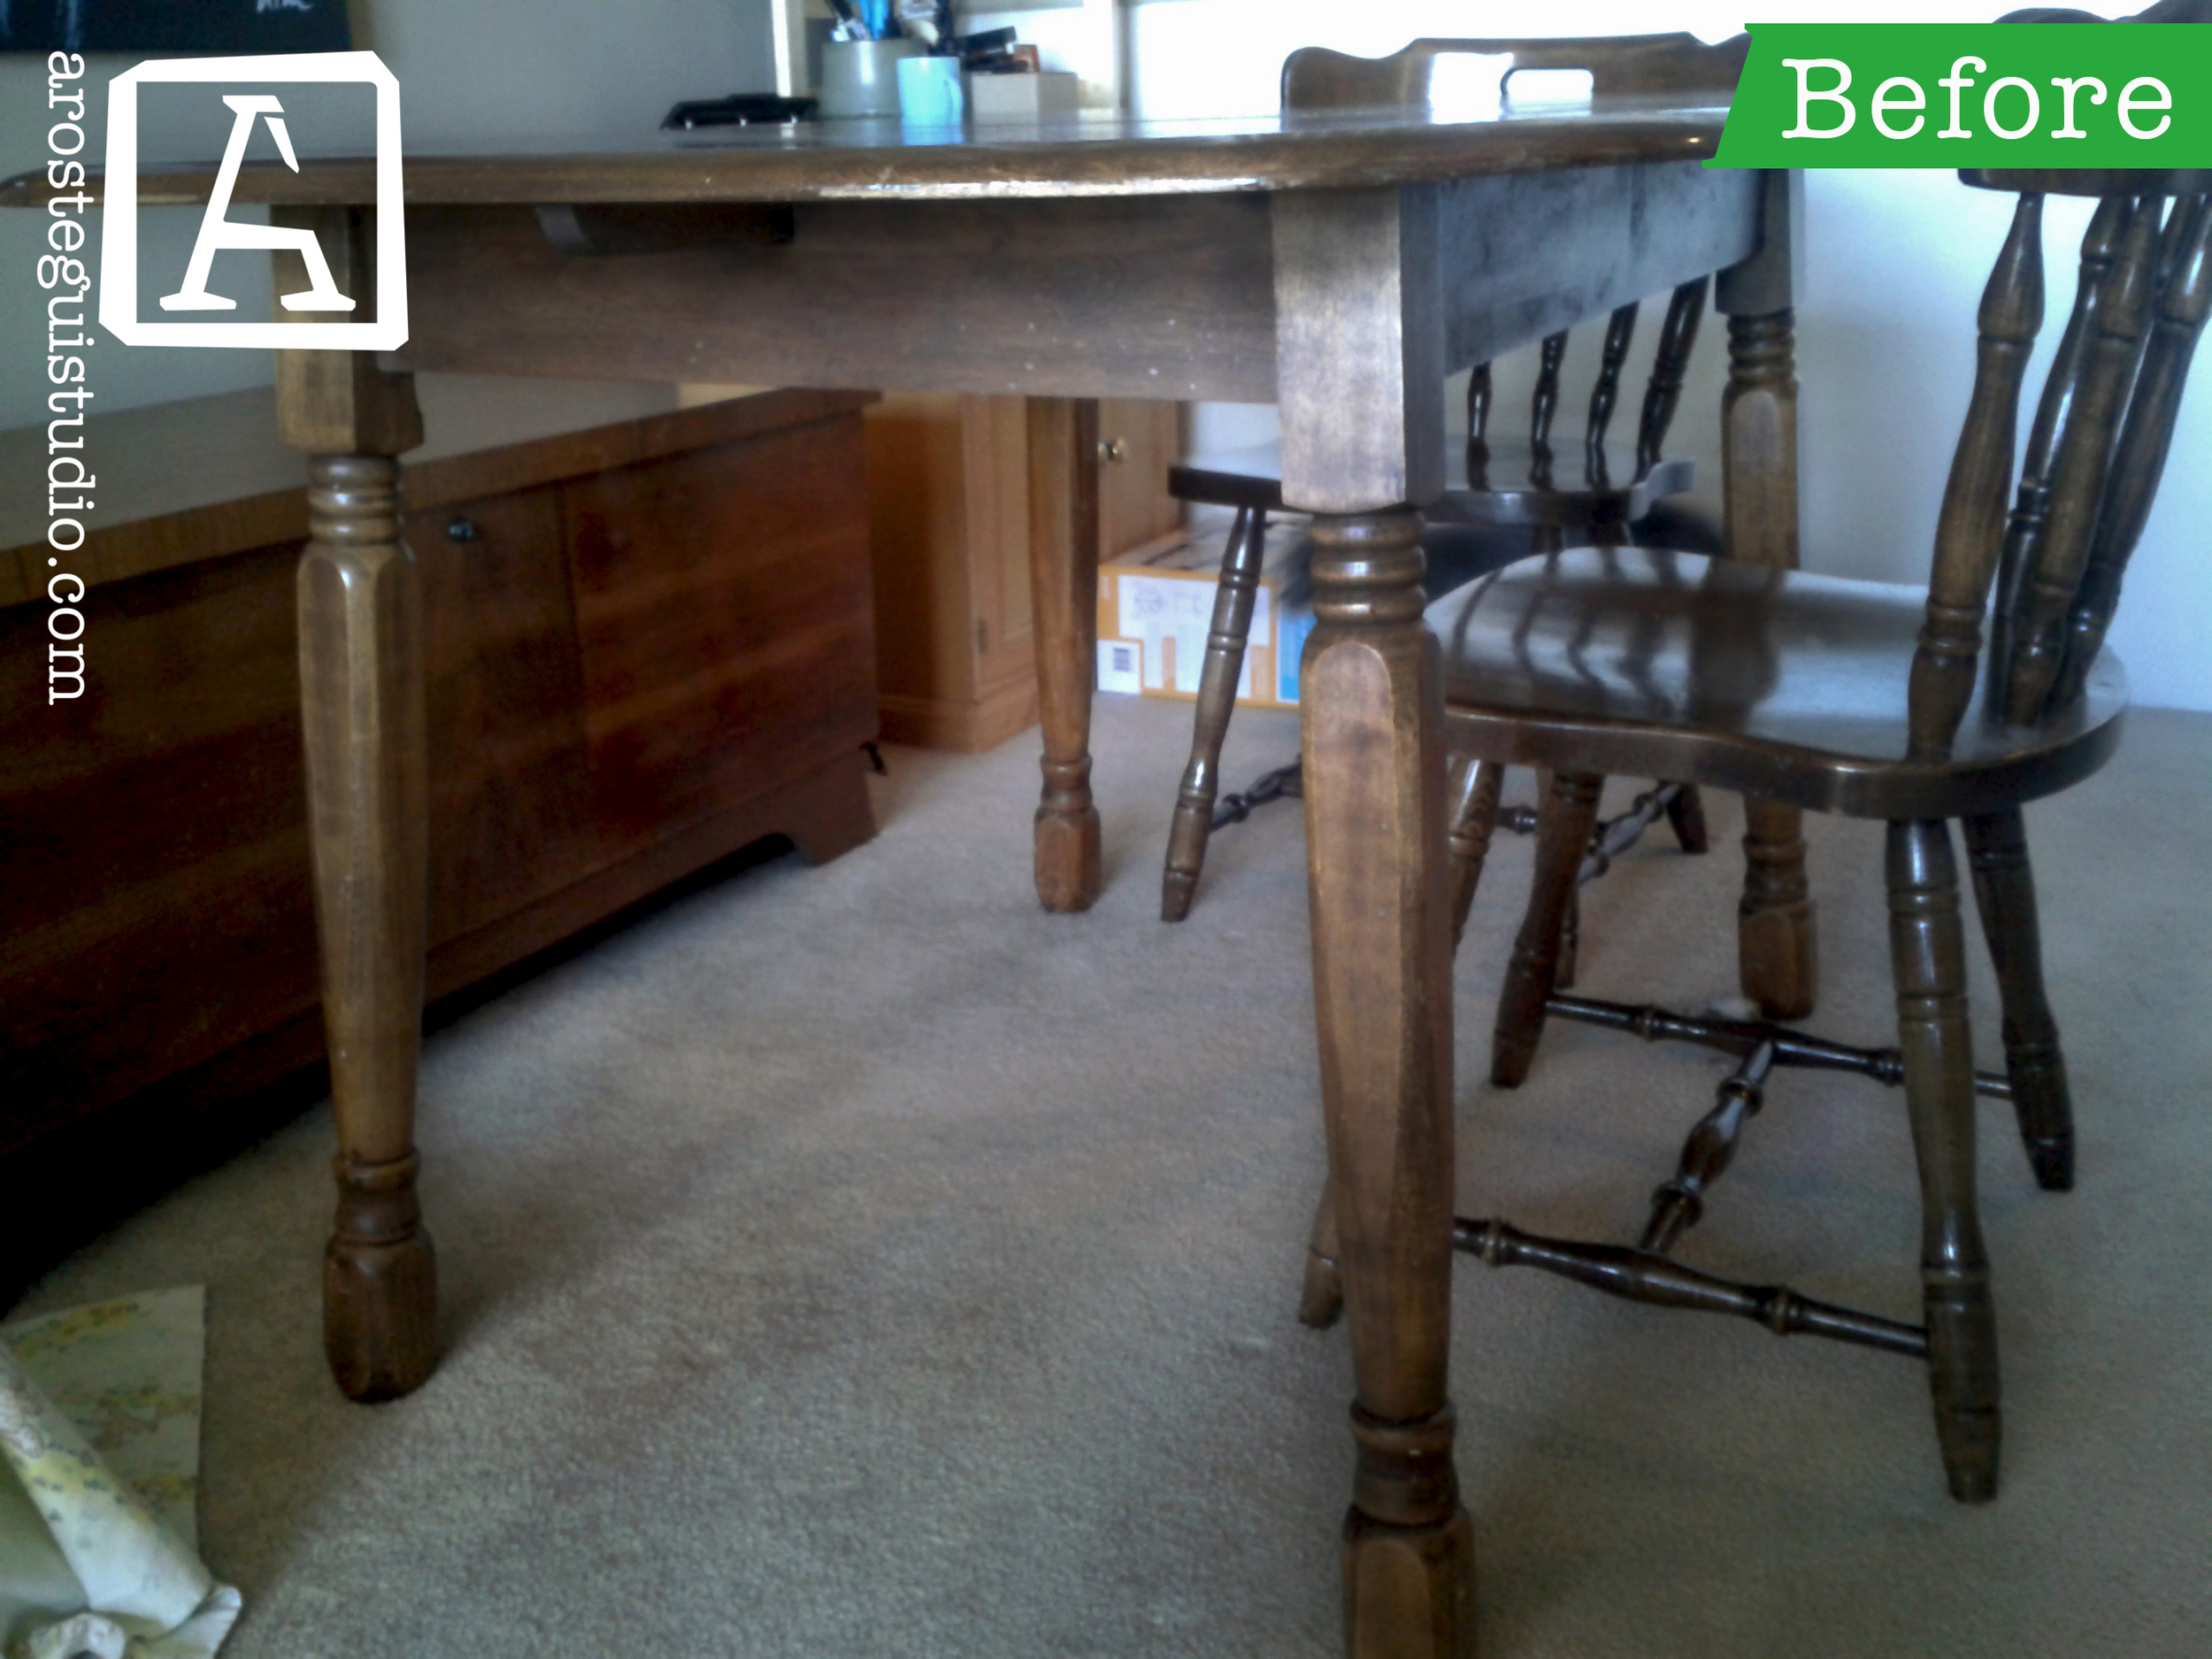
Our recommendation was to keep and repurpose the table base and make a new table top for maximum effect. We told our client that the mix of country and distressed west coast style would be great contrast and accent to the space.

The fir was distressed and stained with a oak colour. We wanted to get lots of contrast between the dark base and the the subtle yellow hue of the table top.

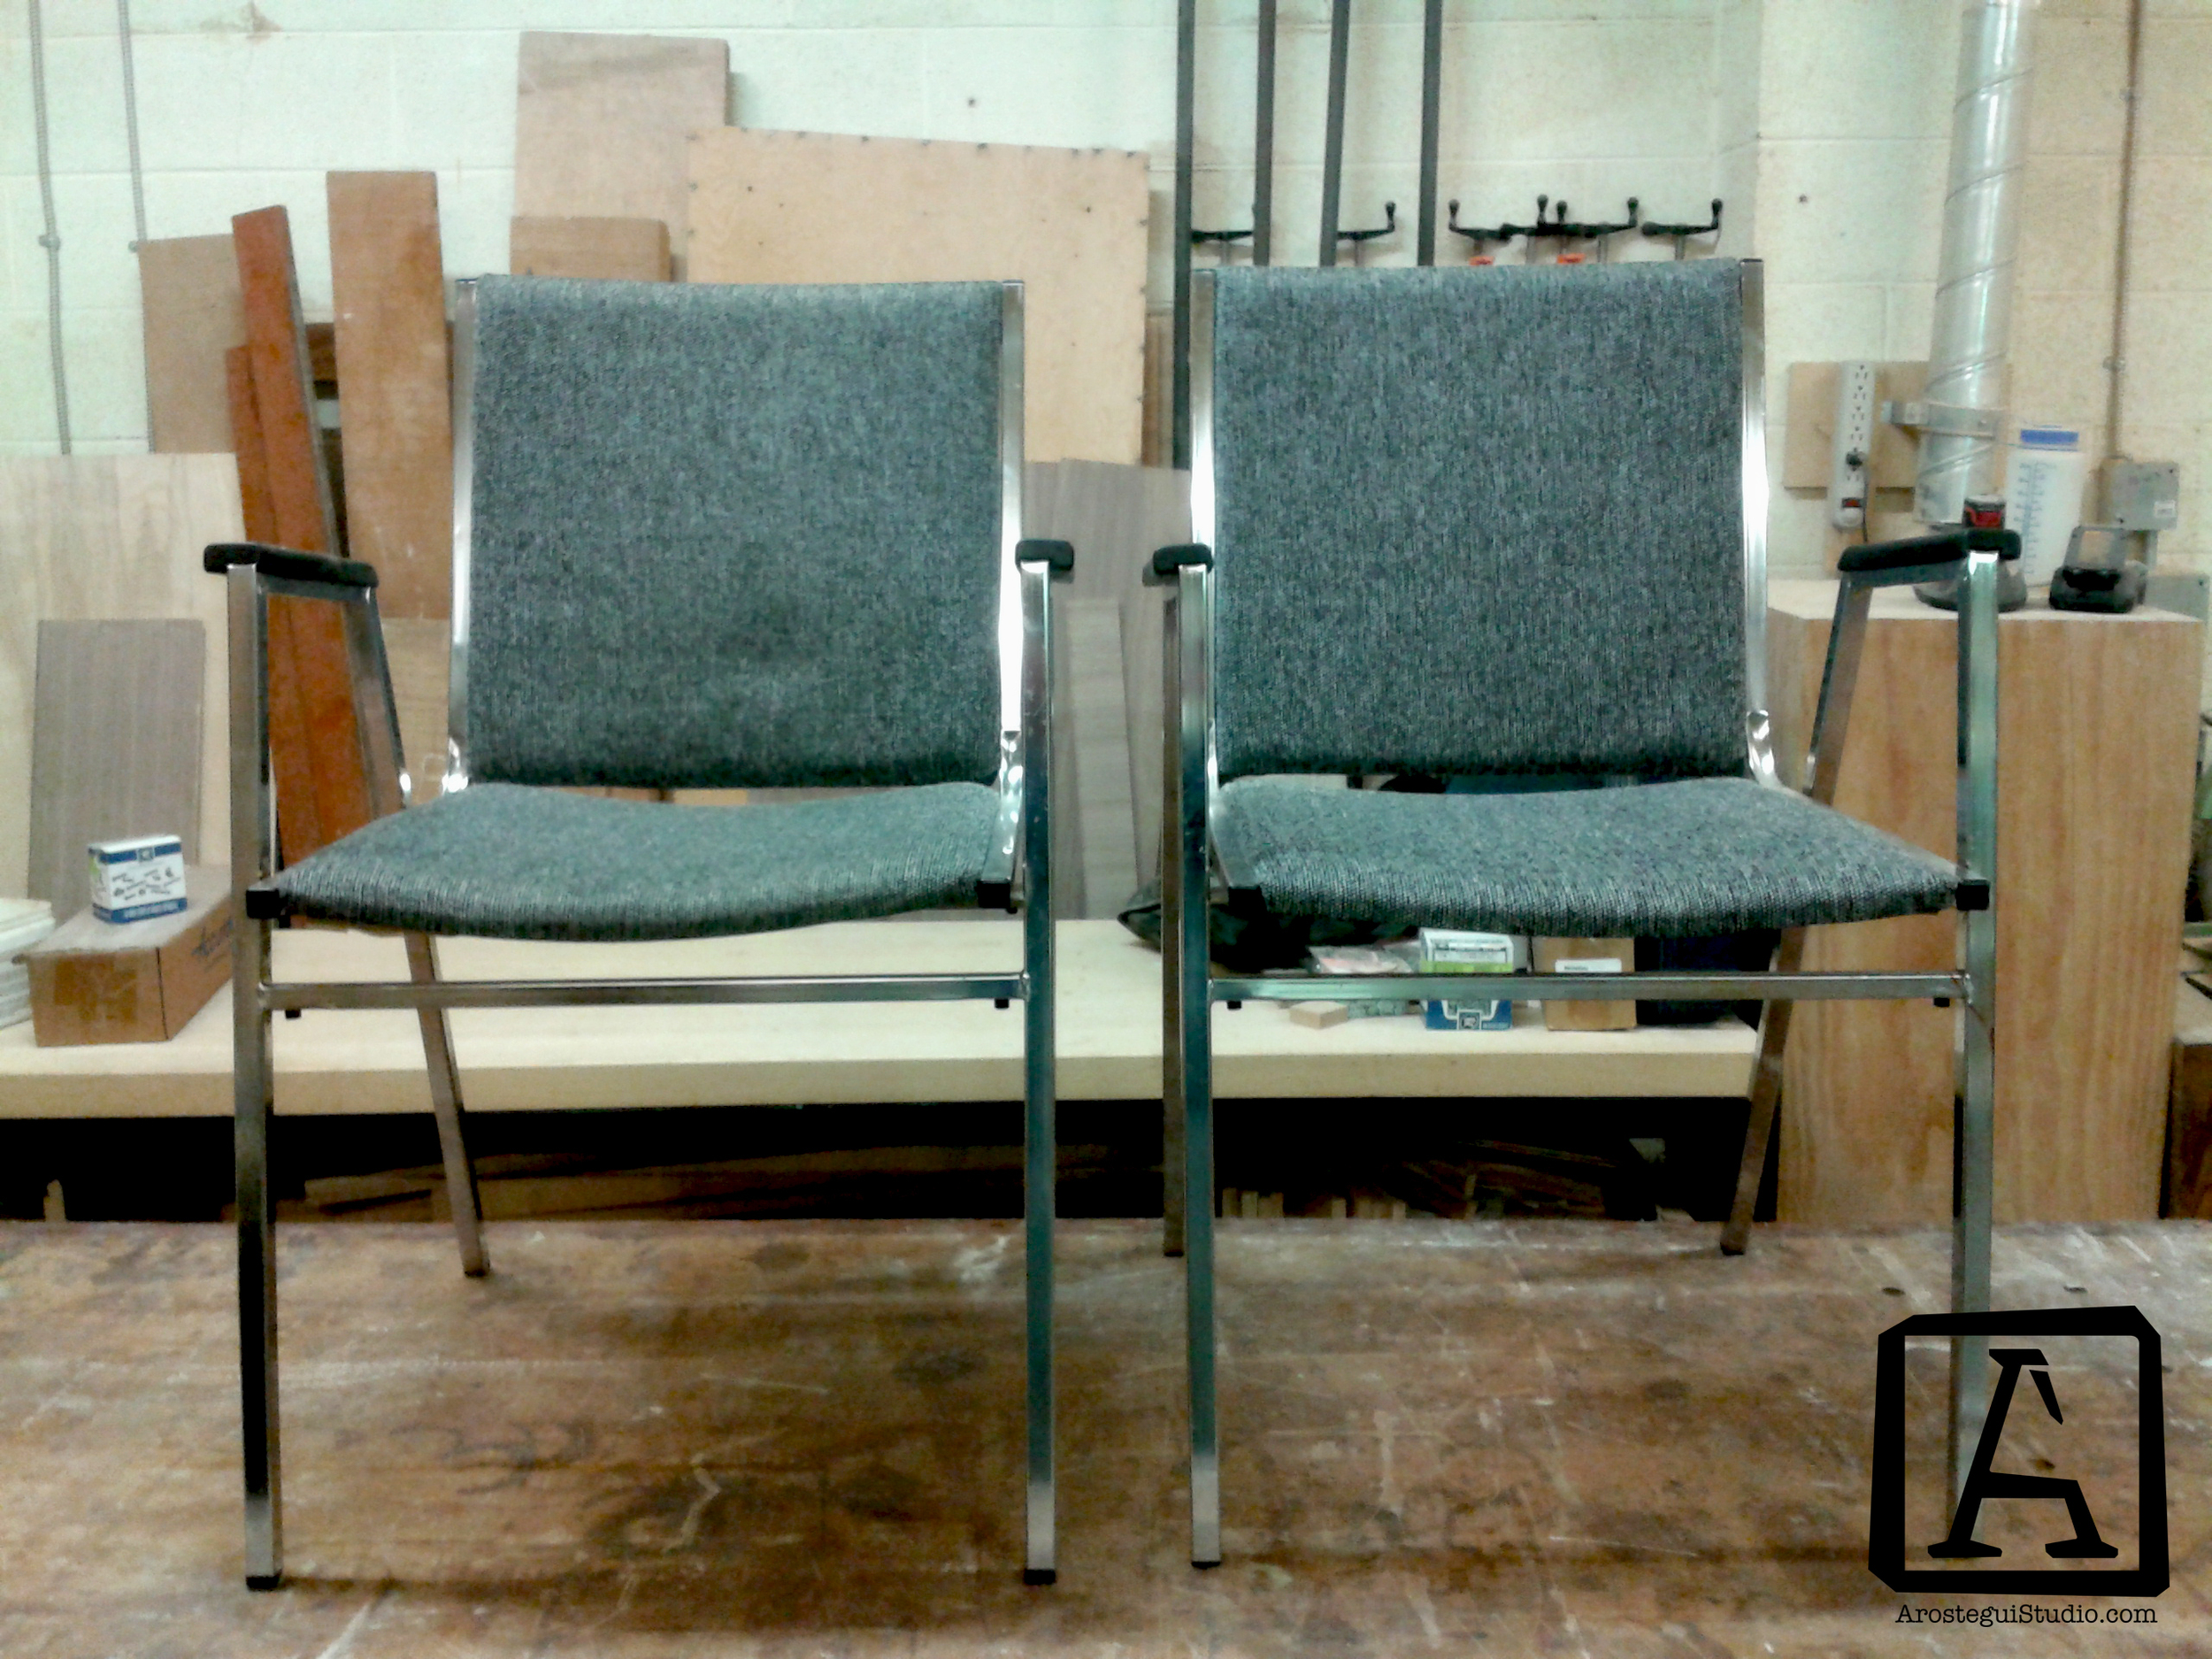
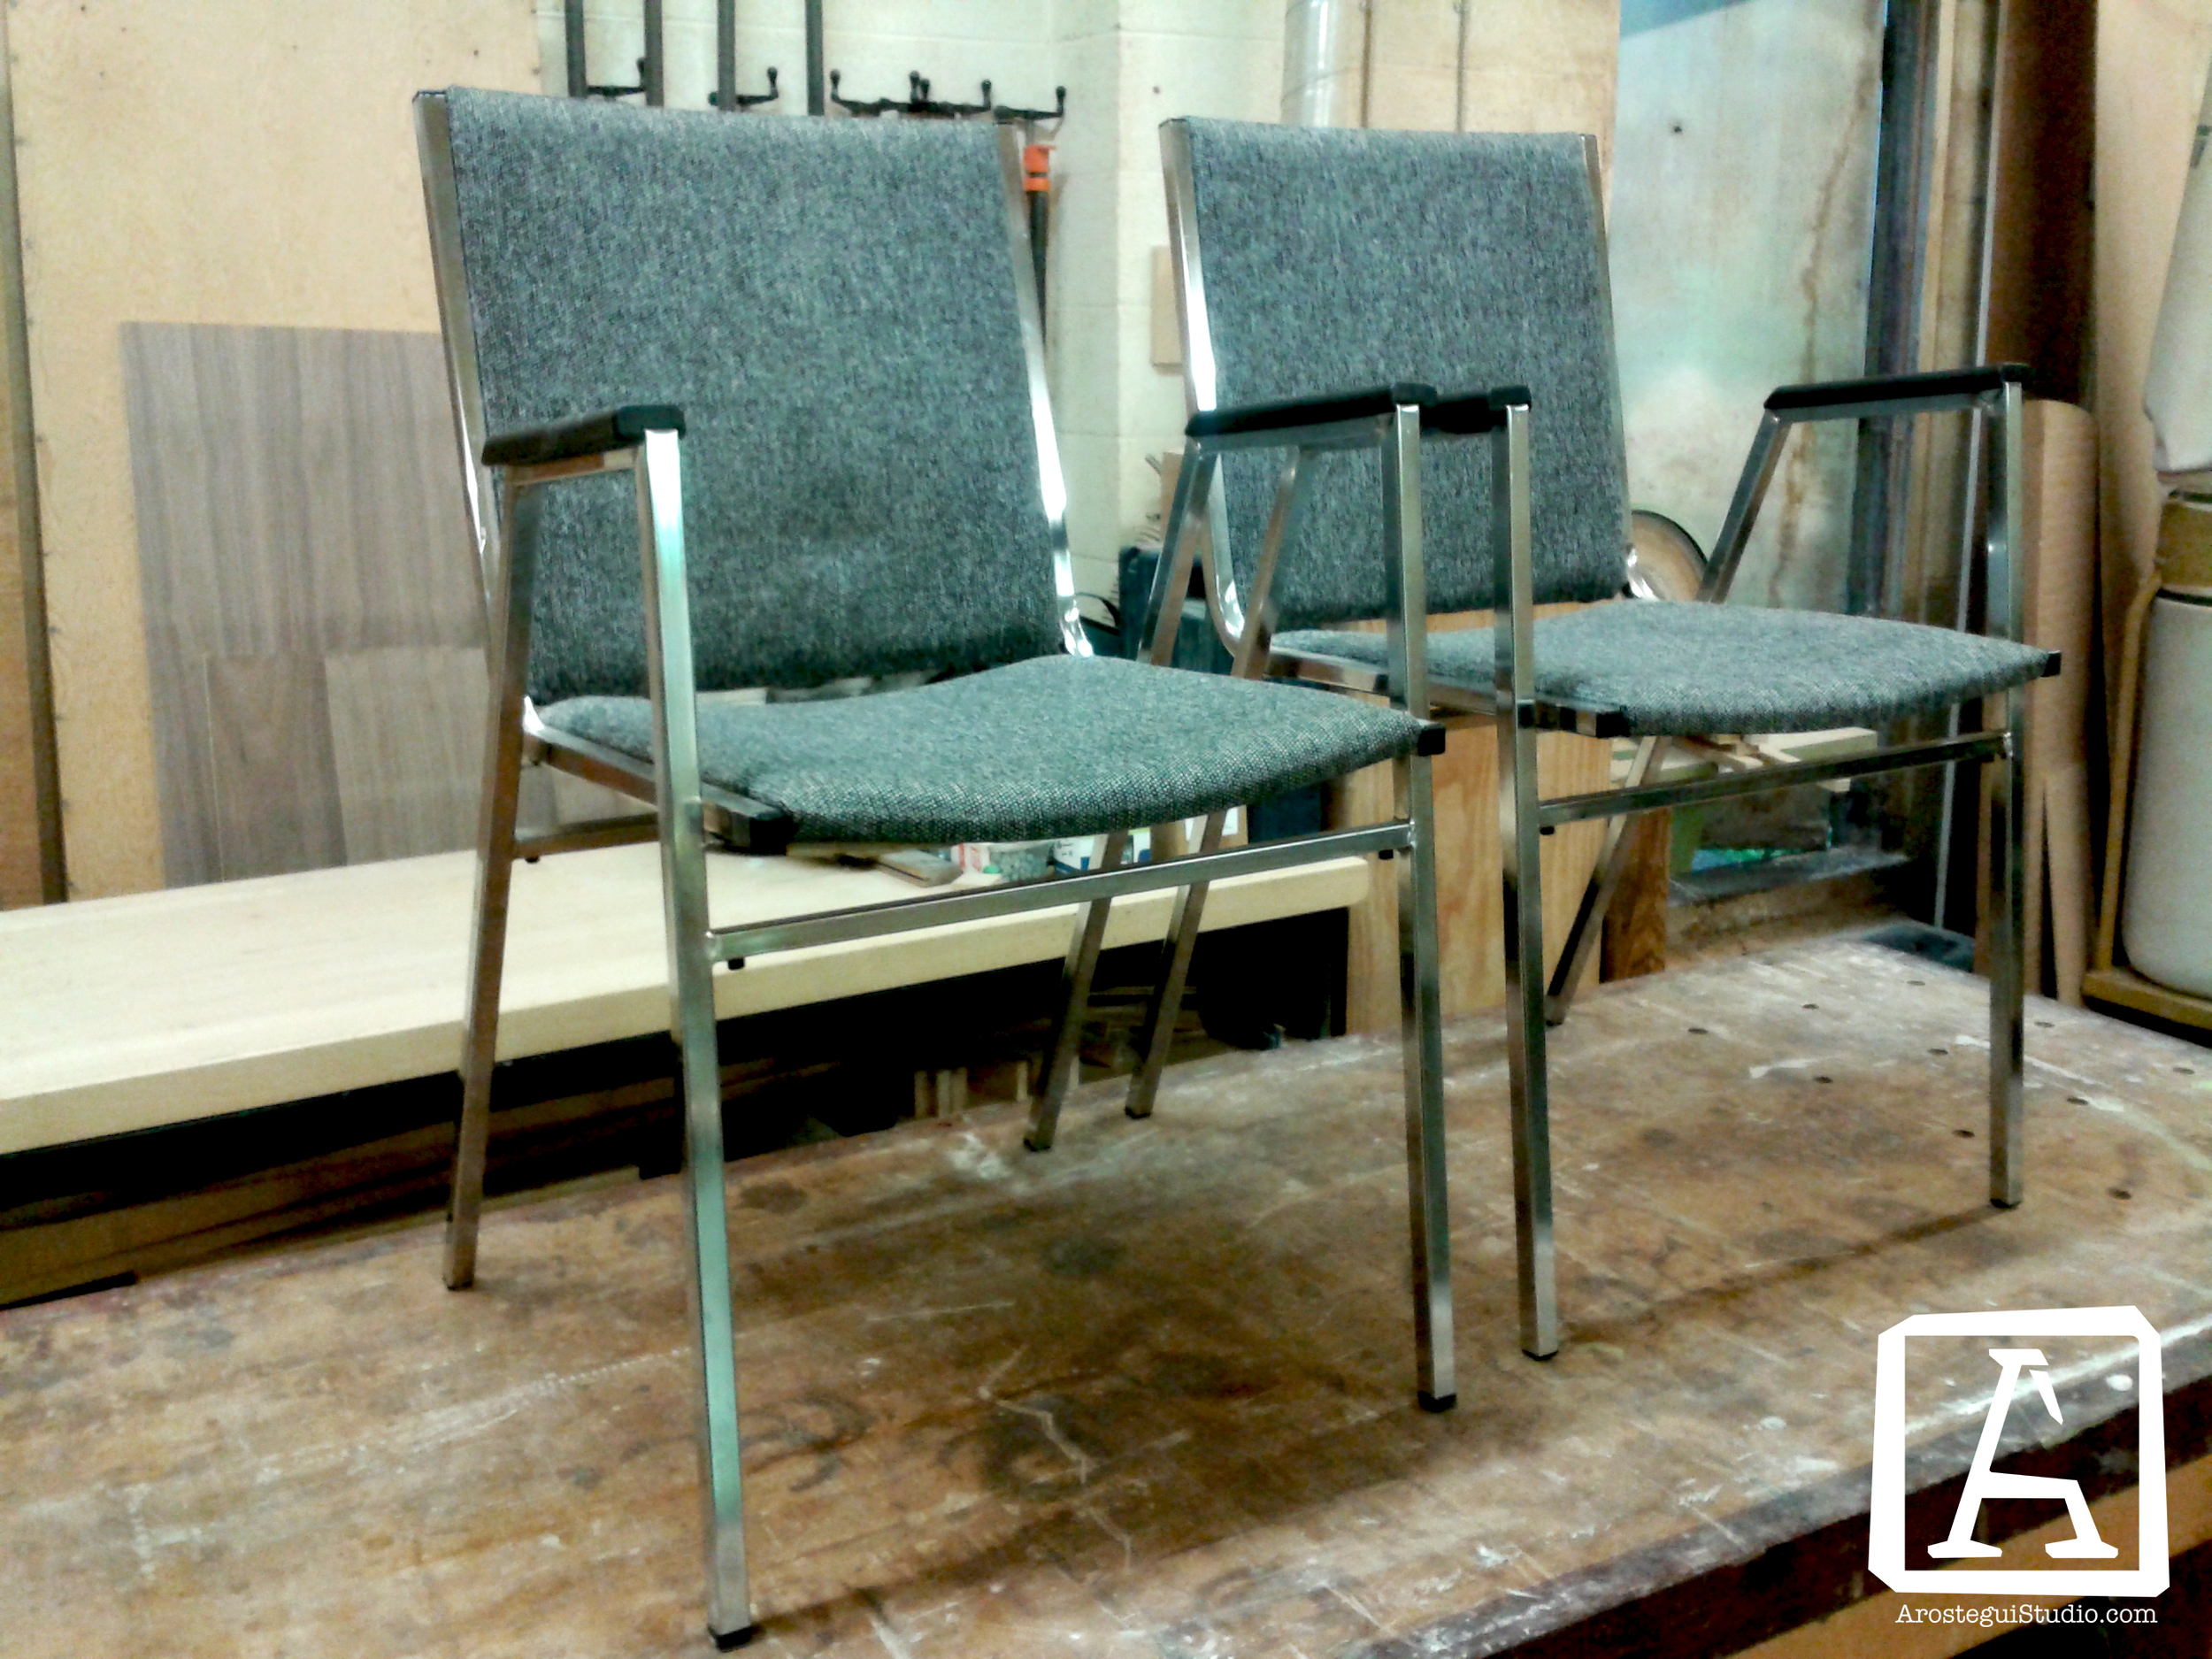
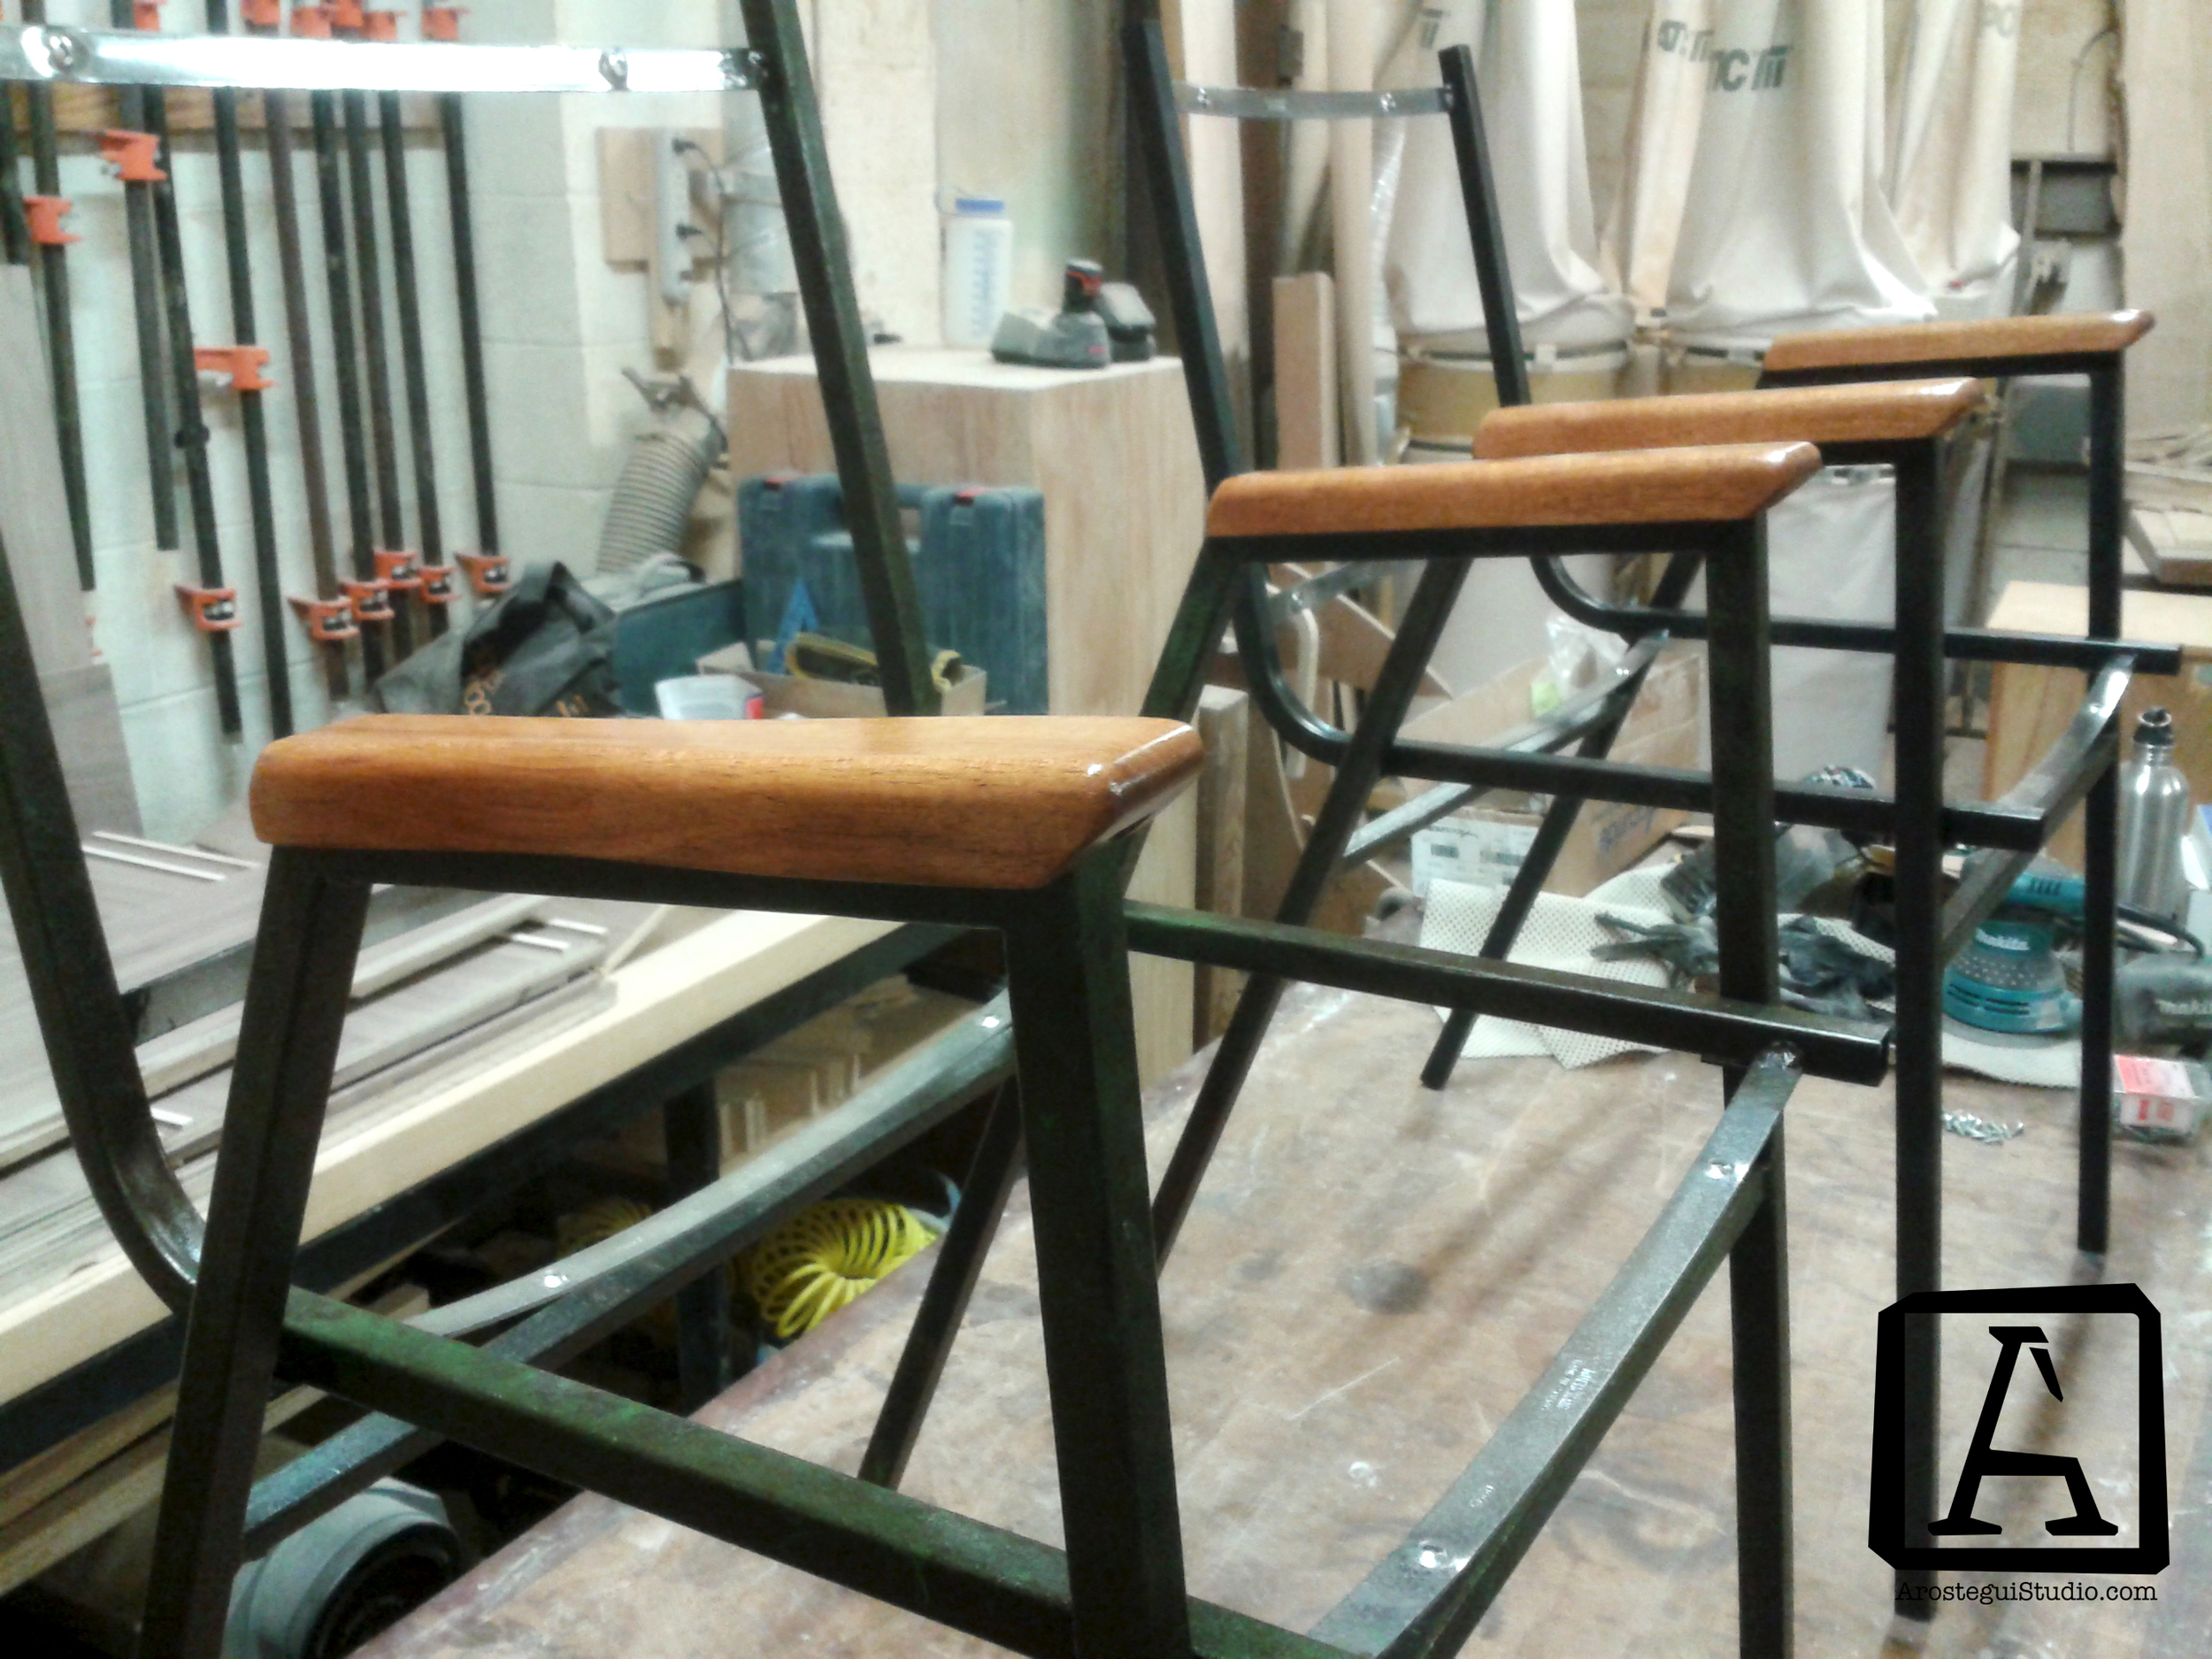
The old style chairs also add a great contrast to the mix!

Source: http://www.arosteguistudio.com/repurposing...

Repurposing project N. 1- Second hand chairs

During one of our usual rounds at second hand stores in Victoria, BC, we found this pair of chairs. Noticing their potential and after a proper inspection, we decided to repurpose them and give them a nicer appearance. They were bought for $10 each!

The first modification to these furniture was to change the chrome look of the metal and add a patina. That was done using acrylic paint, which gives very interesting textures and colours.

4.jpg
5.jpg
6.jpg

After having the patina ready and dry, we decided to add some wood to the project. We designed and made hand rests from a scrap piece of mahogany sitting at the studio.

With these two changes, we turned two dated chairs into stylish retro seats! 

Source: http://www.arosteguistudio.com/repurposing...

Piano Repurposing

We were requested to make this piano functional again and in order to do that we had to deconstruct and remove all the internal structure.


Before doing any changes to the piano, we design a few digital renderings for the client. We usually do renderings, we think is the best way to show clients our ideas. The final product doesn’t have to be the same to the initial digital sketches, but normally follow the same concept!  


In order to do so, we had first to remove the key slip, fall board, music rack, lid, lid prod, keyboard, action frame and bumpers.

The next step was to loose and remove around 216 and 236 strings. This was a slow process, as the strings are making a great amount of pressure.  Each string has a tension of 160-200 pounds, resulting a total string tension of 35,000 pounds. This high stress is supported by a strong cast-iron frame (the plate). The strings must be loose and removed in a very specific way, always trying to keep the tension balanced along the plate.

Once the strings where removed, the next step is to remove the 1000lb cast iron plate. Not easy!

Without the plate in place, the only piece remaining before reaching the piano structure is the soundboard.

With the heavy parts removed, we took the piano to the studio.

Taking in consideration a few changes from the initial renderings, we started the modifications of the piano into a shelving unit.

There we detached the legs, pedals and inner structure (beams), The last were use for the legs of base of the shelf. We had to strip and re coat the piano. Some parts where re stained as well.

In these pictures, the piano starts to take shape and looks more like a furniture piece, a shelving unit!

piano repurposing- shelf
pino repurposing- shelf
piano repurposing- shelf

Please go to this link to see the piece finished.

http://www.arosteguistudio.com/projects/#/grandpianorepurposing/